The Mx Examples collection contains a stationary trebuchet example (Example 19). We modify this example by adding another degree of freedom to show the recoil of the trebuchet. You can find this model and run the app (Example 24) in the Examples subdirectory of your Mx installation.
Here are the steps to creating the model:
- Draw a line segment over the x axis, but not through the origin.
- Draw a point at the intersection of the line with the x axis. (You should see the double bow tie before you click.
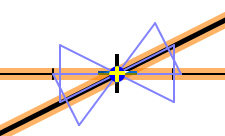 )
) - Constrain the distances from each end of the line to the new point (a and b).
- Select the point and the x axis and click Point Proportional
 in the Constrain toolbox. Hit enter to accept the default parameter, t.
 - Select an endpoint and click Mechanics Input / Mass
 , to apply masses M and m to the line's endpoints.
 - Select the arm and the x axis to constrain the angle between the two with the default parameter, θ.
- Select θ and t, right click, and select Free Constraint to Accelerate.
- To see the acceleration of the point over time,
 , select the point B and click Mechanics Output/ Velocity / Acceleration in the Real tab (the symbolic expression is rather involved)
  .
.
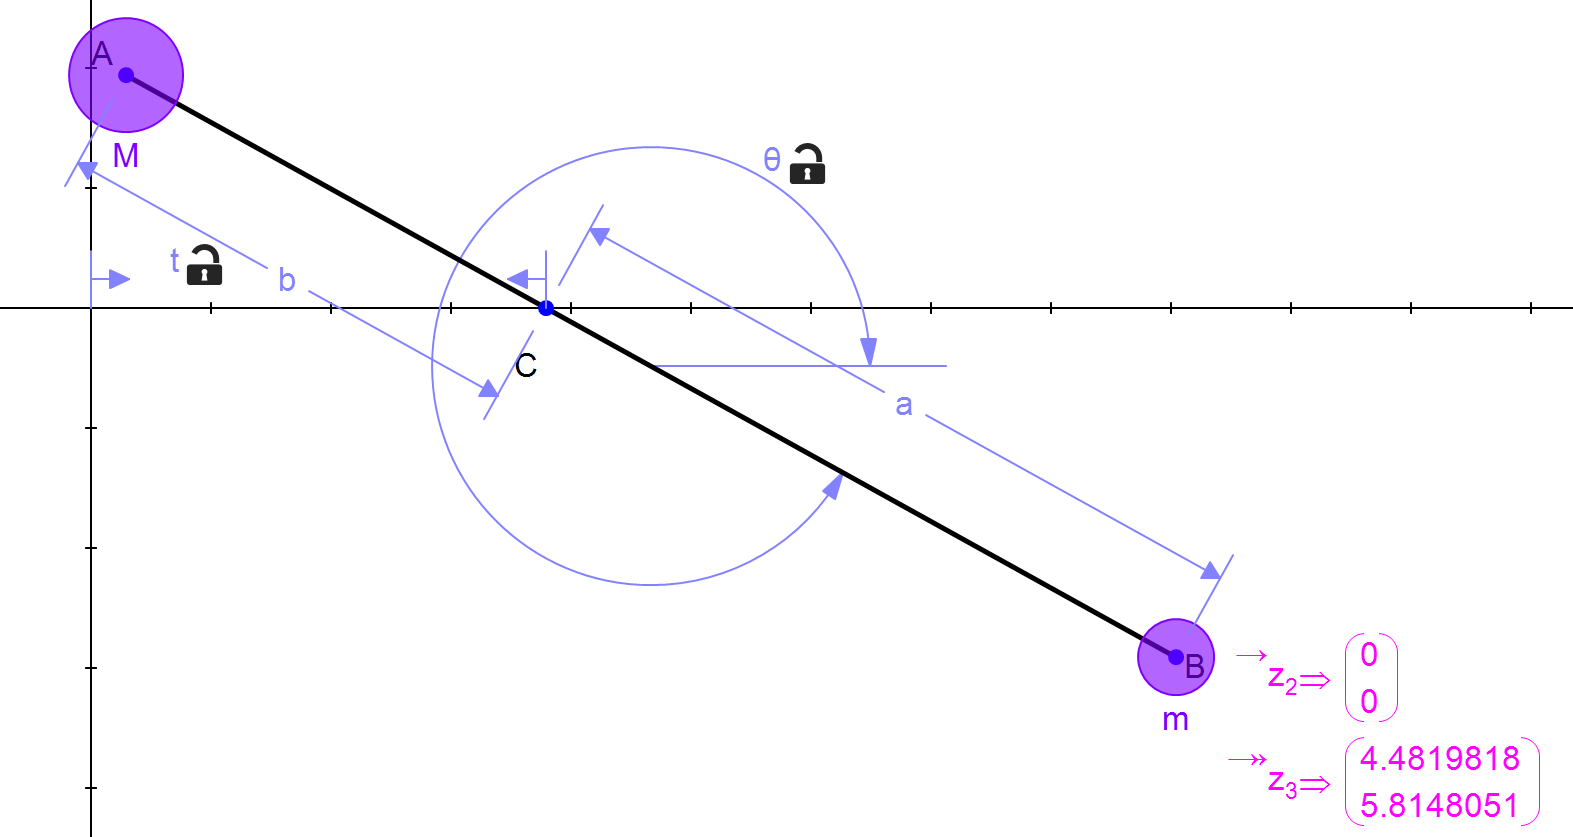
Your model should appear like this:
Now you are ready to Export / HTML5 / Javascript App, found in the File menu.
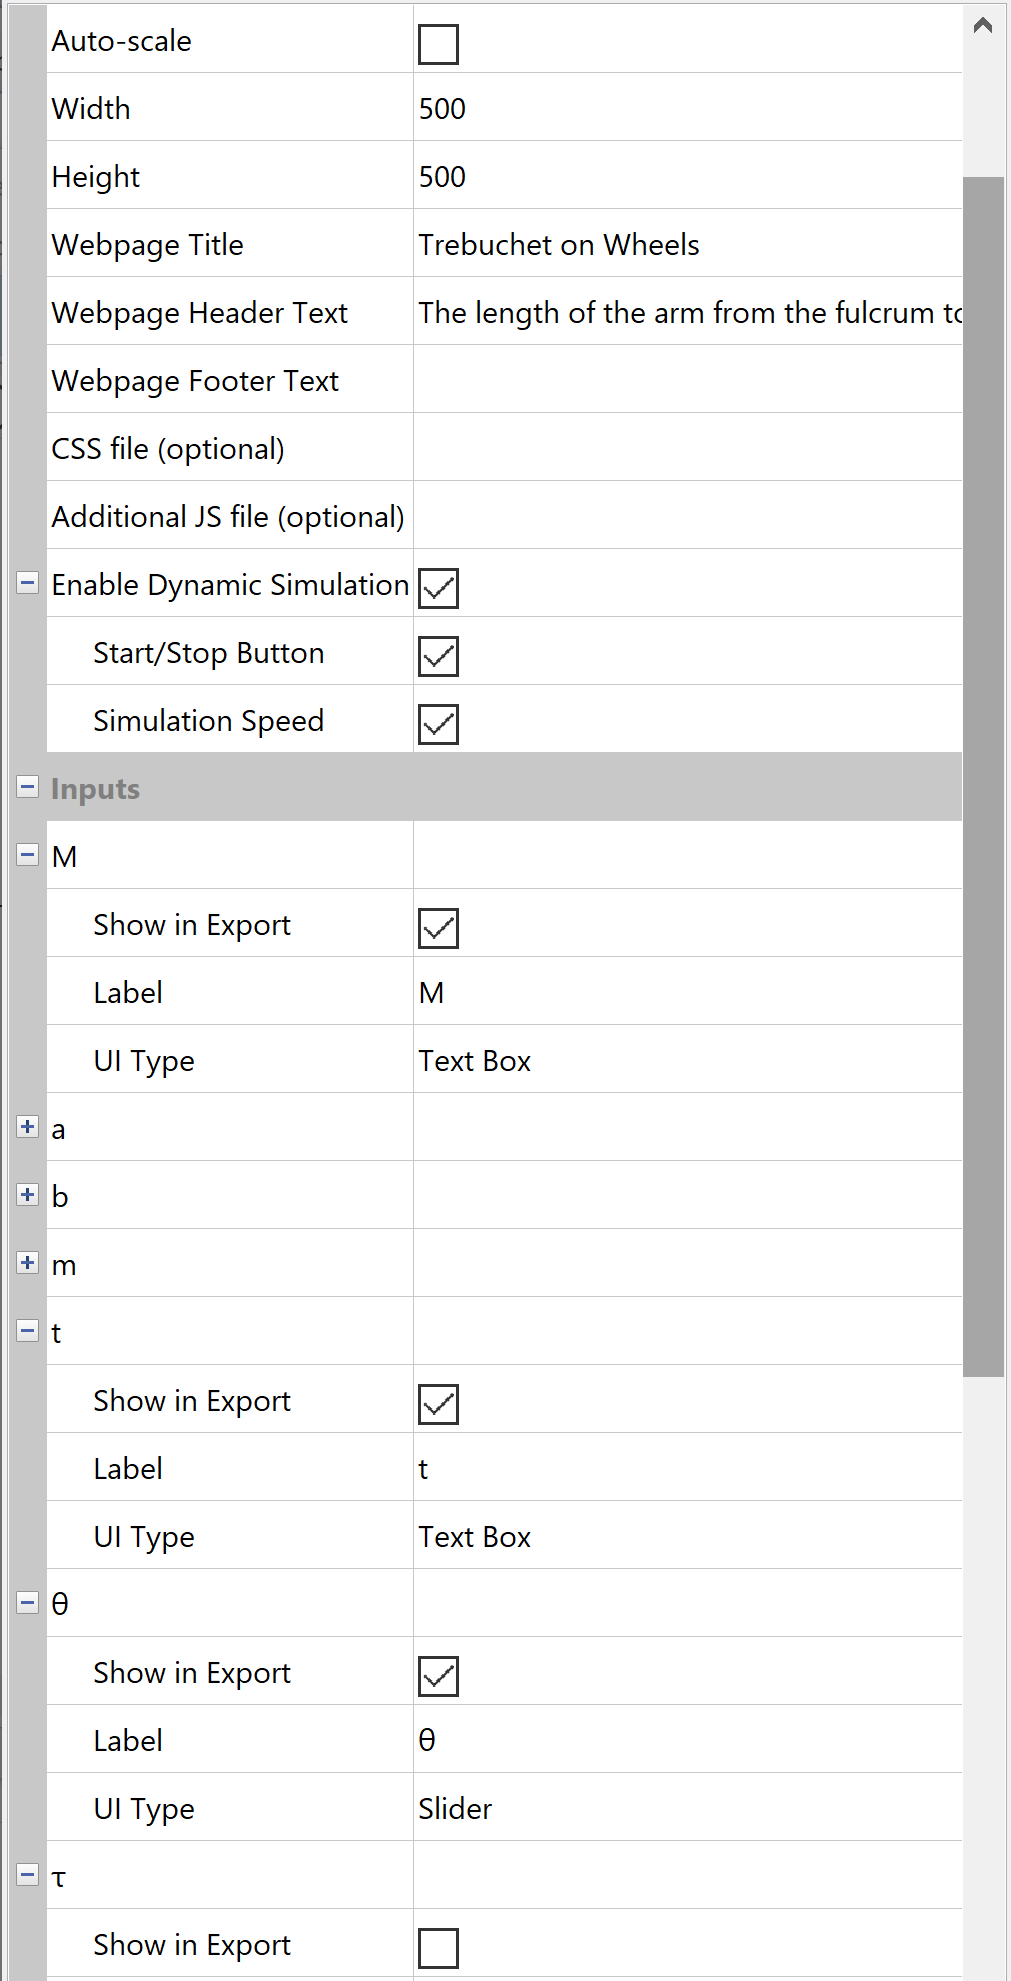
- Specify that the app should contain a simulation, give it a start button (the default has these checked).
- Uncheck the Auto-scale box in the Applet Settings section. When you finish entering all the applet details, Mx prompts you to select the drawing area. Remember to leave enough space around the trebuchet in order to see its entire movement.
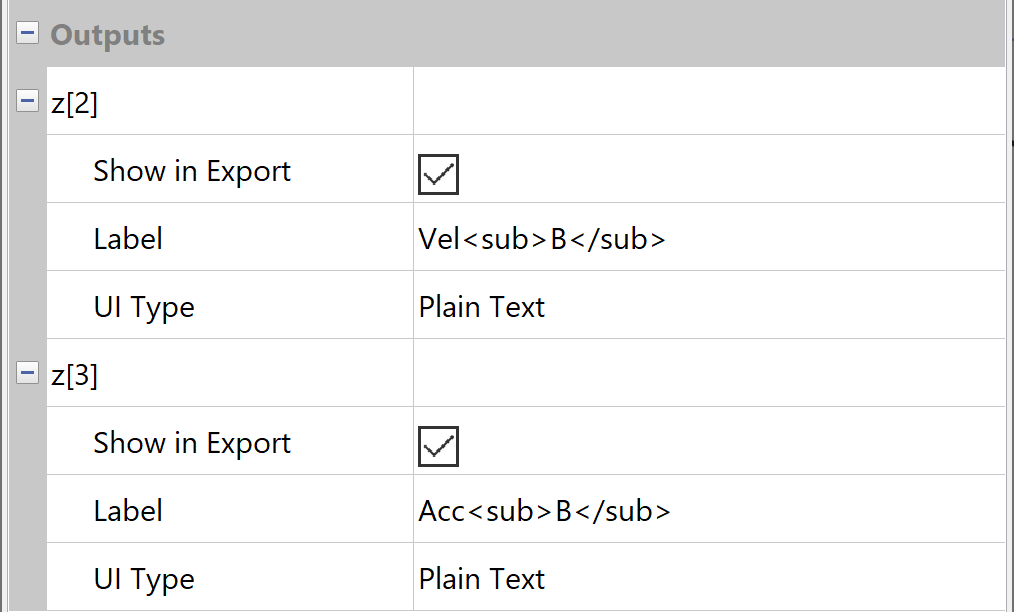
Here are the app specifications:
Click the down arrow in the Velocity or Acceleration line to see a graph. Click the arrow again to see the table of the output. Here's the app:

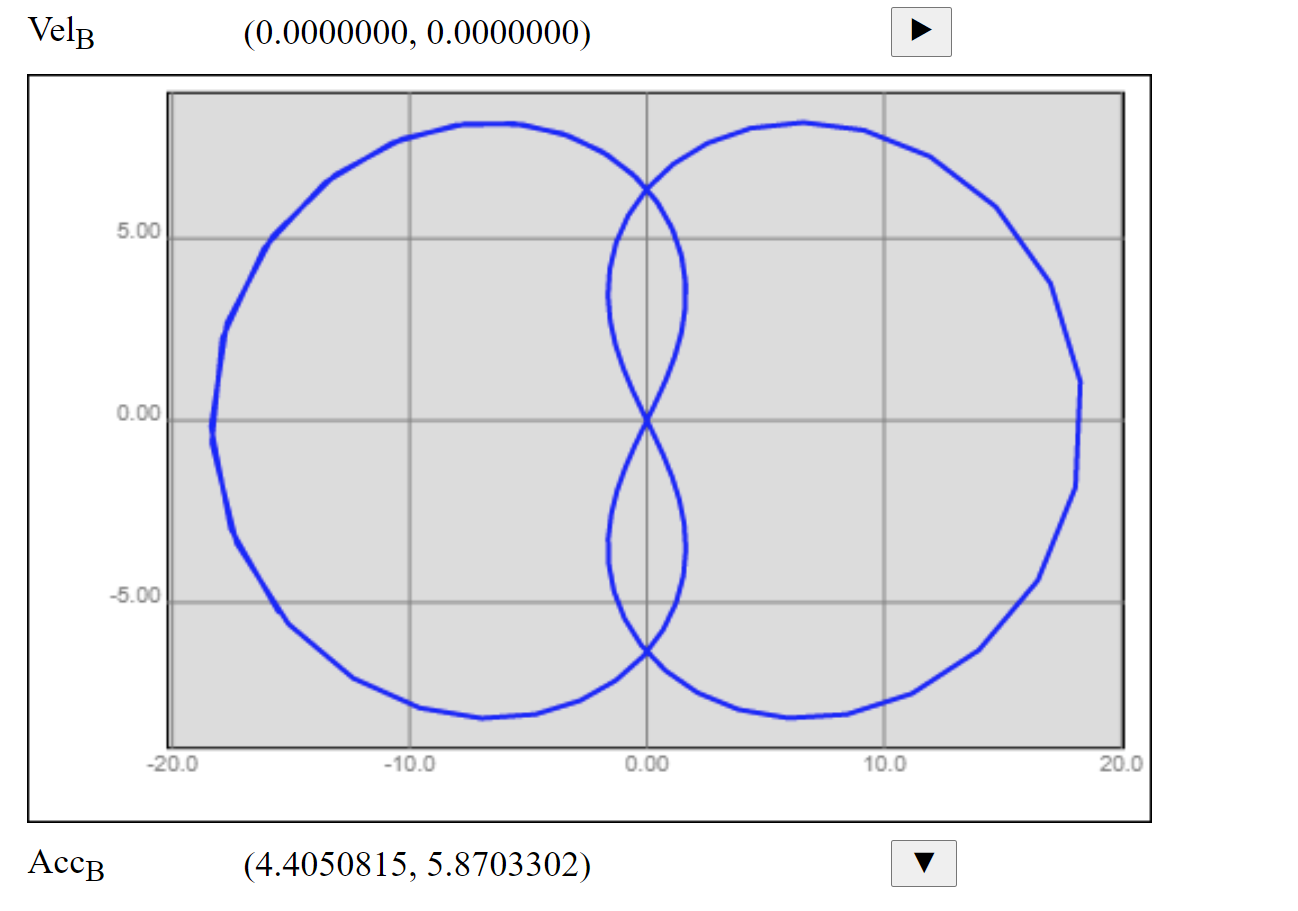
To get a smoother graph, decrease the Simulation Speed.